For one of the projects we were assigned for this year we were tasked to make a three dimensional model, firstly I decided to make a mood board based on the objects I could of created, I began to look at objects such as tanks and other vehicles but decided against that to move onto an object that was smaller and slightly less complex, after deciding this I moved onto looking at weapons and smaller firearms, I looked at larger machine guns but eventually decided upon a Mk.14 EBR Rifle, currently used by the US Army as a standard marksman rifle, meaning there would be lots of pictures and reference for me to use.
After looking through pictures and references of the weapon, I decided on using an accurate graphic drawing for the reference weapon from a side view whilst modeling, (shown below) the side profile of the weapon would make it much easier to lay out the parts and get them all to the correct scale.
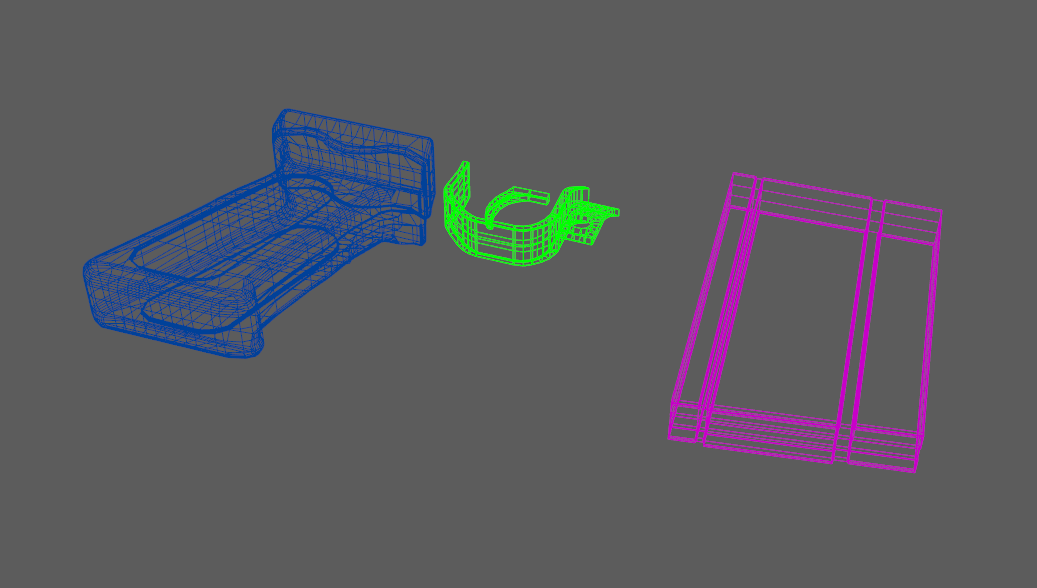
After setting my Maya settings accordingly and setting my project to the correct area I moved onto creating the first component of my weapon and arguably the simplest, the magazine, I began by using the quad draw tool to create the basic shape of the cuboid I was about to extrude and added edge loops around the edge of the 3D Object to refine more detail into the magazine, I then used bevels and the multi-cut tool to make sure I had to correct topology for smoothing the object correctly. I have included below a shaded, shadedwireframe and wireframe view of the magazine.


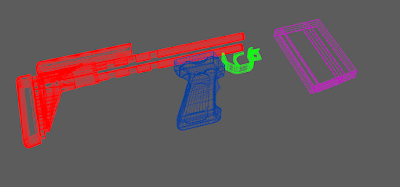
After the magazine I moved onto a more complex part of the weapon, the handle and trigger, I decided upon this part of the firearm first due to its more organic nature as I knew I would have to spend more time on this than other parts, again I begun by using the quad draw tool to mark out the area of the handle grip and trigger and extruded the basic shape up just like with magazine, I then used some more extreme bevels to mark the correct smoothness of the weapon and moved onto creating edge loops to make out the basic topology of where the textured part of the grip should go.


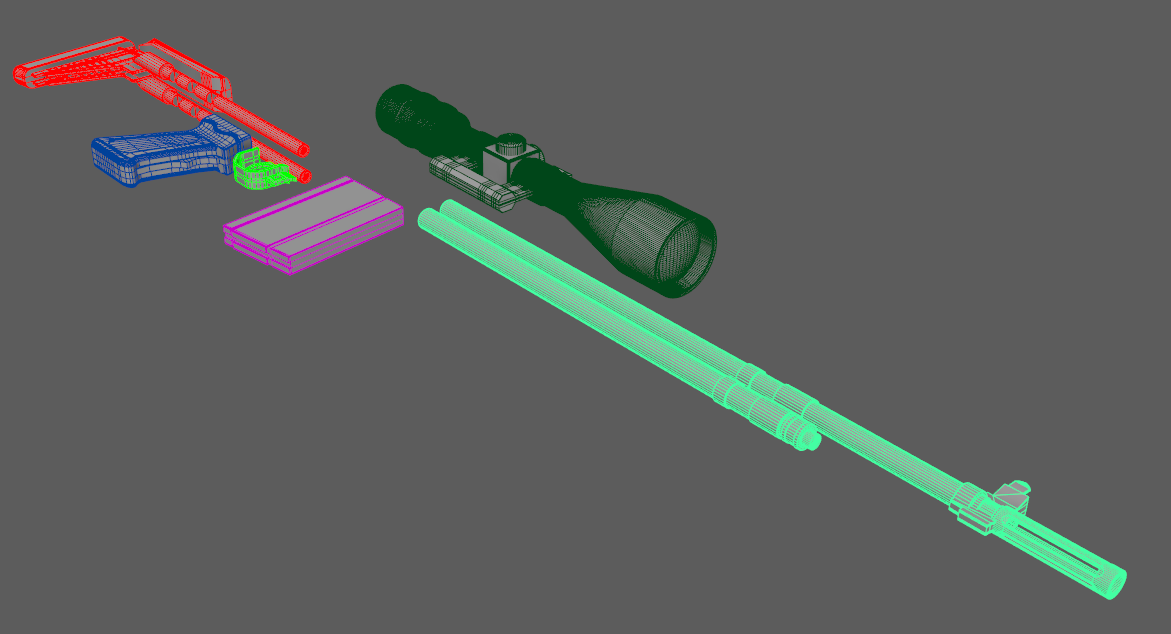
Making the stock was the next part of the modeling process, I began by using my now most used tool in the project the quad draw tool to create the ruberised section at the end of the weapon commonly used to absorb shock to the arm whilst firing, I smoothed it out using the bevel tool to make it look more rounded and soft and extruded parts off of that to make a section to connect it to the more hard surface areas of the stock, I then moved onto creating those areas by mapping out the basic areas using again, the quad draw tool and beveling off edges and moving the topology to create something that looked identical to the reference. Finally I used the cylinder tool to create the part of the stock that connects to the main receiver and grip and beveled off any edges to help with smoothing.


The scope was then the next part of the weapon, I began by using the cylinder tool to create the basic width of the shape and added edge loops so that I could bring in and out certain areas of the scope making it look more like the reference image after that I used two flattened spheres to make the lenses of the scope and used the quad draw tool to make the part the attaches the scope to the upper rail.
After the scope I moved onto the barrel of the gun as it was made using a similar method, beginning with a thin tube I made edge loops and extruded off of the shaft to create ridges in the barrel, I then used the quad draw tool to create the sights, I removed some faces for the muzzle break and connected the exterior polys to the interior using the fill hole function and the bridge tool, I then beveled the edges to create the muzzle break.
The next section of the weapon was to make the front rail and the scope rail, this was again used using the quad draw tool and extrusions, after the extrusions I made an edge loop through the center and moved the notches down to create a slight canyon to the rail and then used the edge loop tool to create areas where holes could be made. After creating the holes I then beveled the edges and smoothed off certain bits to make it look like the reference image.
Finally I moved onto making the main part of the weapon, the receiver, I made this out of three different pasts as it was easily the most complex part of the weapon in terms of modeling it, I began by using the quad draw tool to map out the basic topology and extruded to make the object three dimensional, I then used the edge loop tool and the extrude tool to add detail, I finally moved onto adding bevels to smooth out the rough areas.
Here is some more glamour photos of the final model
~